Showing posts with label DIY. Show all posts

12.30.2015

Gravitas

"The real voyage of discovery consists not in seeking new landscapes, 
but in having new eyes."
 - Marcel Proust


'Cataclysm Radiance' 2015


"Until the lion learns to write, every story will glorify the hunter."
  - African proverb


'Passages of Listening' 2015


"Semen is Latin for a dormant, fertilized plant ovum-a seed. Mens ejaculate is chemically more akin to plant pollen.

See, it is really more accurate to call it mammal pollen. To call it semen is to thrust an insanity deep inside our culture: that men plow women and plant their seed when in fact, what they are doing a pollinating flowers. 


Now, doesn't that change everything between us?"


 -Stephan Harrod Buhner 'Secret Teachings of Plants'


'Prolific' 2015


"Though men possess the power to dominate and exploit every corner of the natural world, nothing in that fact implies that they have the right or the need to do so."

 - Edward Abbey 'A Voice Crying in the Wilderness' 


~

12.05.2015

How to: Herbal Infusion for Eye Strain, Injury, or Infection - for humans and cats!

So this kittie came in with a weeping, half-closed eye the other day (not in this picture)... since it was in one eye and not both, I assumed it to be an injury versus an infection, but I address both similarly, being more adamant about repeat application with an infection, which will usually end up affecting both eyes, so in that case, I put this infusion in both, but since this was injury, I only put it in the injured eye.


This is a blend I have made many times to great effect for both humans, and especially, my cats.  I have had a multiple cat household of indoor/outdoor cats for over 20 years, and having been an Herbalist for all that time too, I often use herbs to help my cats and eye issues are one of the most common with them.

(Btw, I am not suggesting you do this without a qualified practitioner's recommendation.  You need to make the decision for yourself, or with the help of someone qualified, as to whether or not this is the right thing for you or your cat; I am not saying it is.  Eye problems can lead to serious consequences, so they aren't something to mess around with.  That said, this is what I do).

This time I used Calendula and Eyebright.  I also sometimes use Chamomile.  I used about a tablespoon of each dried.

Pour boiling water over, just enough to cover the herbs.

Cover and let steep for 10 minutes or longer.  If fighting an infection you can add about a teaspoon of colloidal silver later, after straining, if you want.  The herbs alone though do fight infection.  Colloidal silver was used in the days before antibiotics and is a powerful ally against infections of all sorts.

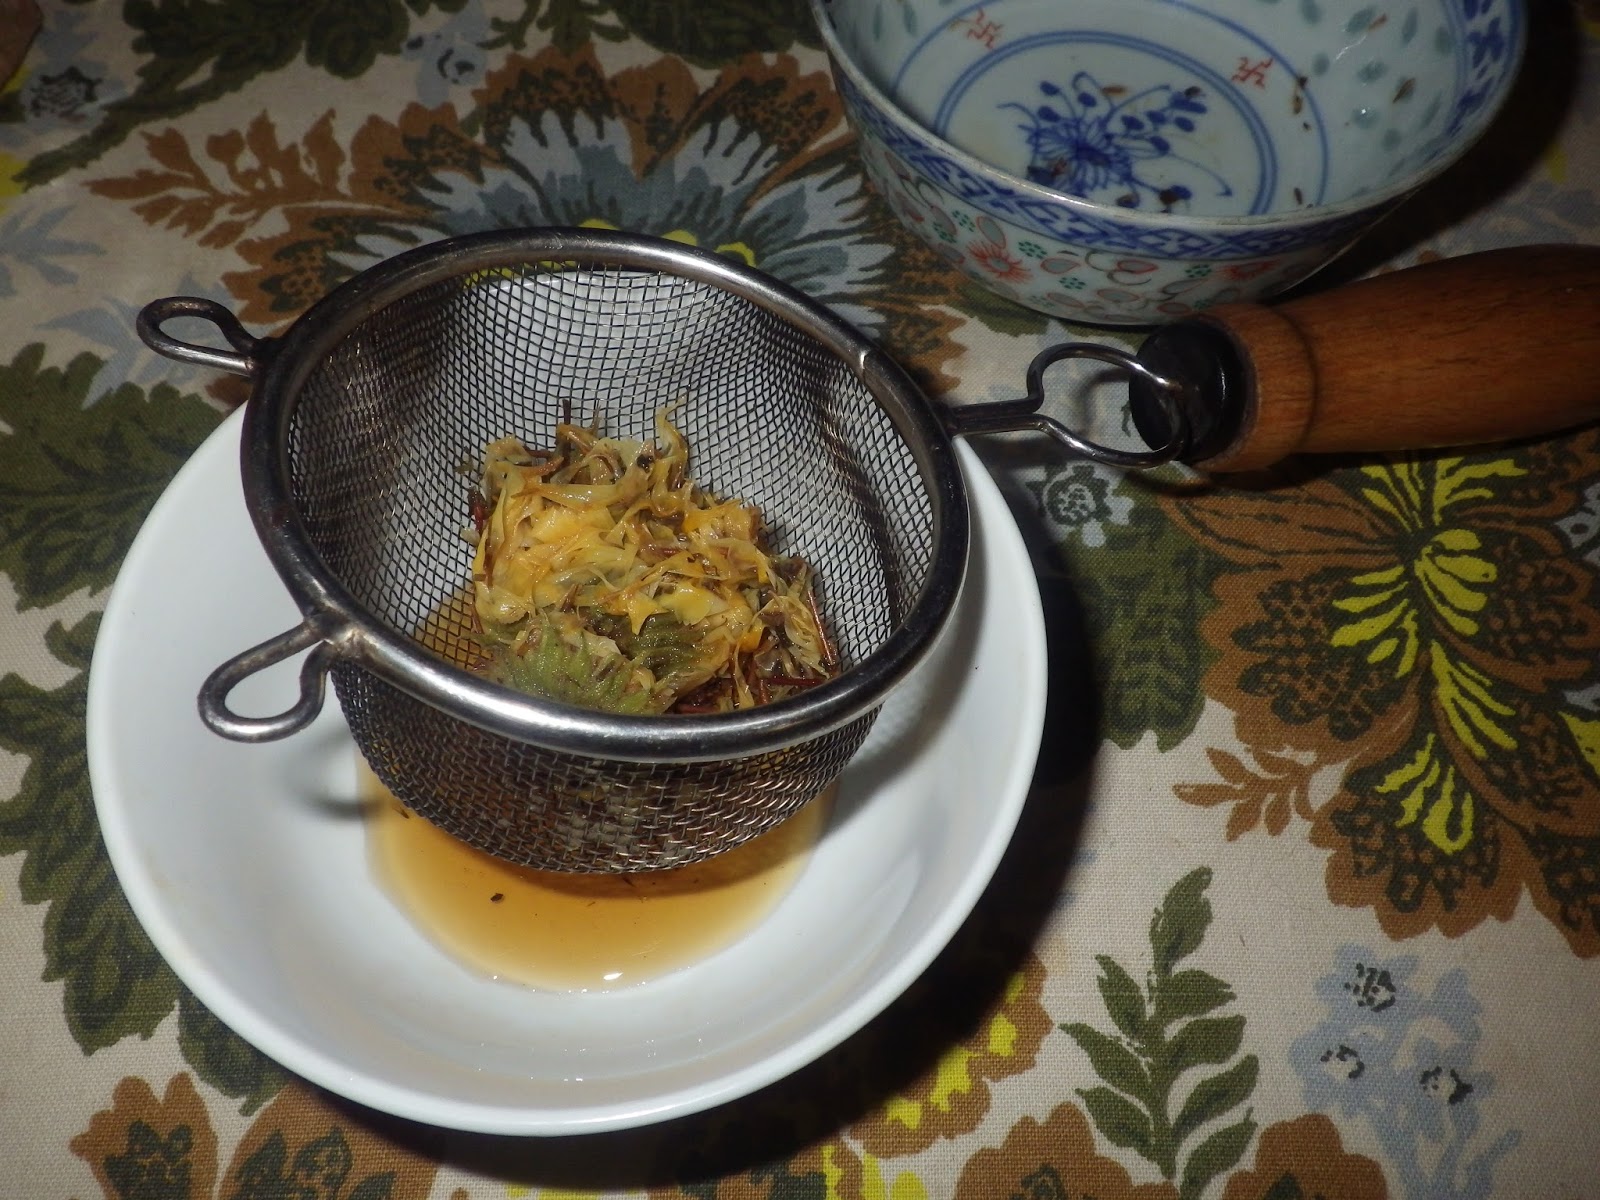
Strain, pressing the liquid out of the herbs.  Make sure that your hands and any utensils are very clean as we must be particularly careful with anything we put into the eye.
This will likely leave bits.  

With anything put in the eye, it must be well strained, I also use a coffee filter.


After straining and cooling, you may saturate cotton balls with the liquid if using for a cat.  For humans, use an eye cup or dropper.  For cats, I hold them and pet them getting them relaxed and then I put the saturated cotton ball over their closed eye with their head up and squeeze out some of the liquid so that when they open their eye the liquid goes in.  Another option is to use a dropper and drop several drops into the eye(s).  Do not re-use the cotton ball, wash any applicators between applications.  Remember to keep things very clean that are going in or touching the eyes.   I apply this 1-3 times a day.  If dealing with an infection that has lots of ooze or crust, you need to remove this first with a warm wash cloth.  If it is dried, use the warmth and wet of the cloth to slowly and gently dissolve and remove it.  .  Then apply your herbal infusion.  Or another option would be to make a lot of the infusion and soak your wash cloth in it and use it for cleaning the eyes.  If your cat does not cooperate; I find the easiest way to control them is to wrap them tightly in a towel so only their head sticks out.  This takes two people.  I've never had this not work for my cats and I have dealt with some serious infections with them.  It's so much easier to use this with humans though!


May the force be with you.


5.26.2015

Dandelion Fritters


Check out the size of this Dandelion leaf! It measured 20"!


Want an easy to make, easy to forage, and always enjoyed wild food?

Hard to go wrong with Dandelion Fritters!


First, collect the heads including the calyx, but not the stem.


Next, dip them in whipped egg (never use factory raised eggs, arg),

Then coat them in a mixture of your choice...
You can use different flours and spices,
making them savory or sweet.
Here I used cornmeal, nutritional yeast and garlic powder.
You could go to the other end of the spectrum 
with Cinnamon Sugar in Pastry flour for instance...


Finally fry them in a good fat that withstands heating, 
like Coconut oil, Ghee, Sesame oil, Walnut oil...

Allow to cool and you have yourself a delicious treat.
There won't be any leftovers.


4.15.2015

Japanese Knotweed - Lime Bars and Native Mason Bee Housing - A Primer on this Ubiquitous Weed


Japanese Knotweed


Japanese Knotweed Lime Bars


Japanese Knotweed utilized as part of a Mason Bee House

I just love utilizing invasive non-native plants.  I can feel good about harvesting them because I know it helps other plants that are native and/or not invasive by keeping down the growth and spread of the invasive AND I know I won't hurt the plant's ability to survive (try as I might). In some instances, like Garlic Mustard, you just can't eradicate it even if you want to.


Up Close

It's that time of year when Japanese Knotweed Polygonum cuspidatum sends up it's new stalks from the Earth.  These can be eaten like Asparagus, though they also work well in deserts, and have a lemony type flavor, as we shall see...
The roots are used medicinally and are called Hu Zhang in TCM; they have been used for an assortment of issues such as cancer, cystitis, Lyme, and traumatic injury (see a qualified practitioner for this).


To make this delectable desert:

Harvest the stalks before they have done much leafing out, remove any leaves and the very top where the leaves are forming (these can be added to an omelette or the like); chop the remaining stalks up into small pieces.  You want about 4 cups of chopped stalks, a little more or less is fine.

Leaves and tops to use for another dish.

Chopping into small pieces.

Splitting the larger ones lengthwise before chopping.


Preheat oven to 350.  For the bottom layer:  melt a stick of butter in an 8" x 8" pan, once melted mix directly in the pan with the butter:  one cup of whole wheat pastry flour and one cup of raw cane sugar.  I like to use all organic ingredients so I'm not ingesting pesticides or contributing to their being sprayed on farms and poisoning the water and land (along with the food).  Mash this dough evenly into the bottom of the pan covering the entire bottom.  Bake for 15 minutes. Allow to cool so it hardens.

The top layer mixed and ready to pour onto bottom layer.


In the meantime, make your top layer:  mix 3 eggs, 1 c. raw cane sugar, 1/2 c. whole wheat pastry flour, 1/4 c. lime (or lemon) juice until well blended then stir in the chopped stalks.  Pour this over the cooled bottom layer and spread evenly.  Bake one hour, turning oven to 400 for last 15 minutes.  Make sure the topping is set up; it might need a little longer cook time. 

Delish!

If you build it they will come:  the Mason Bee House on the art studio, L'Atelier.  Netting is to keep birds out.


A...n...d....  another use for those stalks after they die back in the fall (they persist through winter so you can harvest them right up into early Spring) is housing for Mason bees.  These solitary bees nest in tubes, whether that be hollow plant stalks, holes beetles have drilled in trees, or anything similar such as holes we drill or tubes we put out.  They live for 6 weeks in the Springtime right at the moment fruit trees bloom.   
***If you have fruit trees, you want these bees on your property.***  They are easy to care for and do a better job with fruit trees than honeybees because of how they gather nectar.


Drilling the starter holes in 7" pieces of Fir 4" x 4", then on to using a hand-held drill to finish them.

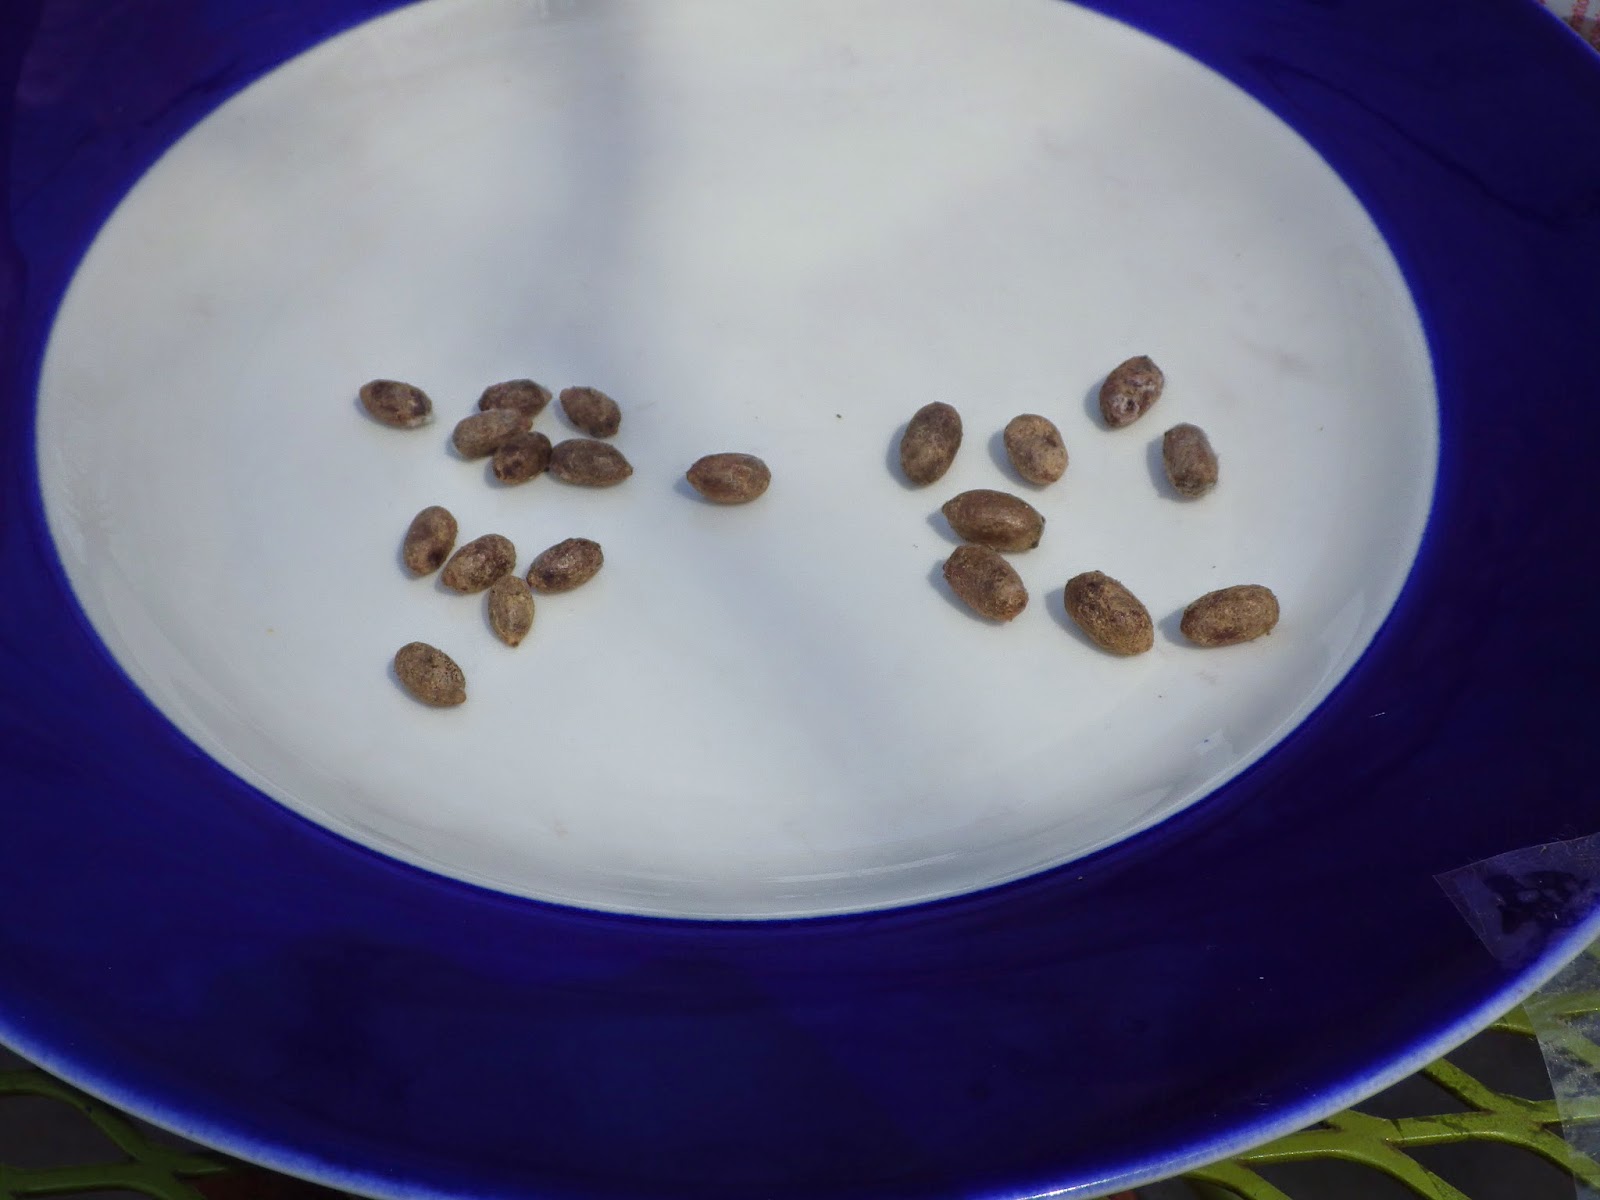
Mason bee cocoons gifted from a friend, thanks Laura!  Males on left, Females on right.

Mason Bee cocoon, they hatch from the nipple end, so this needs to face out if placed in a tube.


Here is a great book if you want to learn more.  Here is one of many houses you can purchase for them.
If you want to make your own, they prefer 5/16th size holes 6" deep (don't use pressure treated wood).  And of course, if you have access to a stand of Japanese Knotweed (bamboo also can work well), you can harvest your own as I did (seen collected in the 4 black pots in above picture of large Mason bee house).

A simple, smaller house can be made too, such as this one upper left.


~~~

3.10.2015

Open Source Herbalism - All Natural Toothpaste


This is a toothpaste blend I have used for some time that I really like and feel does a great job keeping my teeth clean and healthy.  This is important since I rarely go to the dentist; this paste keeps tartar and plaque from building up on my teeth and my gums healthy.

Want to try it yourself?  Recipe follows or you can purchase from me already made.


Lots of natural goodness for your mouth:
1/2 c. organic, extra virgin coconut oil
1/4 c. baking soda
1/4 c. bentonite clay
2 Tbspn. dried and powdered Garden Sage (about 1/2c. before powdering)
15 Clovebuds, finely ground
Optional:  8 drops peppermint essential oil

Heat coconut oil enough to be liquid, then blend in other ingredients adding the essential oil last if using it, then pour into your container while still warm.

Makes about a half pint.


4 oz. re-usable glass canning jar $7.95 plus shipping*


*If you are buying several Ravenwind Botanica products at one time, whether the same item or not, you can save substantially on shipping as I will ship it all together, please inquire and we'll get the payment set up right for you.  :)  You can click on 'Ravenwind Botanica' in the list to the right to see all products available.  Thanks for supporting my work.

1.28.2015

Bath Salt and Scrub - DIY and For Sale


This wonderful aroma-therapeutic blend is a scrub for use in the bath or shower, 
especially good for elbows, knees, and feet, but you can use it all over...  
Use it in a bath and it becomes bath salts when you rinse it off.  Or just scoop some 
into your bath for the relaxing and healing properties of the ingredients.  


Make some yourself:
The Basic Recipe:
2 c. mixed sea salts and epsom salt - rich in minerals, soothing, relaxing
1/2 c. oil - moisturizing - no need for lotion after your bath or shower
25+ drops of assorted essential oils - uplifting and rejuvenating

Makes enough for a 16 oz. container.


You can use whatever mix of salts and whatever oil or blend of oils you want.  Some good oils:  jojoba, apricot kernel, almond, hemp, grapeseed, jojoba...  Be aware it makes the shower slippery.  I prefer to use it in the bath anyway, that way you get the benefit of the soak in all this goodness.


Use one type or a blend of essential oils.  Choose them for their scent and/or actions.  I am linking a great book on essential oils below.  Make sure to include at least 2 drops of Rosemary essential oil for its preservative effects.  You can also add a tablespoon of Vit. E oil as a preservative.


or, Buy some I made:*
$25 for a large (16 oz.) container plus $15 shipping for up to 4 containers shipped.


 *If you are buying several Ravenwind Botanica products at one time, whether the same item or not, you can save substantially on shipping as I will ship it all together, please inquire and we'll get the payment set up right for you.  :)  You can click on 'Ravenwind Botanica' in the list to the right to see all products available.  Thanks for supporting my work.

1.10.2015

Making Soup Stock: Bone and Vegetable - Nutrition from Kitchen Scraps

Strained Bone Stock with added Shitake and Seaweed for Flavoring and Trace Minerals.


You know those bits that many just throw away (or even better compost) when cooking...broccoli stem peelings, onion skins, chicken bones,....  well if you aren't putting them to good use, now is the time to start.  What I do is keep a gallon ziploc bag or two of each in the freezer going at all times, one for bones, one for vegetable scraps.  Once the bag is full, or sometimes I'll wait for two bags to be full, I make soup stock.  Sometimes I mix the bones and vegetables, but ideally you decoct the bones for as much as 72 hours; the vegetables are best just 24 hours max, so it depends.  The vegetables are mostly just a flavoring agent, something to use as a base or liquid in most any cooking.


Straining the Broth.


The bones on the other hand are one of the most nutritious foods you can eat and I believe no diet should be without the regular intake of bone broth, but especially anyone healing from any type of trauma, dealing with serious illness, or pregnant.  When I eat bone stock I can feel the goodness going throughout my whole body lighting up every cell, literally.  It's power packed with nutrients (amino acids and minerals especially) that enrich your body and make you feel good.


The strained Bone Stock; you can see it has good fat in it too.


To make this glorious golden liquid you just immerse the bones in water after breaking them open to expose the marrow if needed.  For instance, with chicken bones you want to use a mallet to break each long bone.  You can also buy larger soup bones at your local humane butcher (if you don't have one of these, look for one - know your farmer, know your food).  I often do this and just mix whatever bones I have; I even mix in fish bones.  Next add a tablespoon or so of vinegar per gallon of water used; this helps to leach the minerals out of the bones.  You may need to add water as you go, particularly for the longer times, or you can start with a greater amount of water.  Bring all this to a boil, then reduce to simmer with a lid and cook for 24-72 hours.  The longer you cook it, the more minerals you will get out of the bones.  72 hour decocting actually makes the bones mushy like a cooked potato.  Once your cooking time is up, strain it; you do not need to skim the foam off the top (it's high in amino acids).  I then put the cooked bones in my compost pile; I figure the garden will use any minerals left.


In this Vegetable Stock; you can see a Brussel Sprout stalk, Leek ends, Onion peelings, Carrot tops, and  rubbery Celery.


Now what to do with all this rich, luxurious goodness?  I use bone stock as a base for most any type of soup, mixed into any type of vegetable mash, as a broth when cooking meat, and even cook the occasional pasta in it.  It gives any dish a depth of flavor and mouth feel that is hard to beat.  You can also use it as the liquid needed when reheating a dish, or when creating a dish that needs just a bit more liquid to get the texture just right, or in making sauces and marinades.  Keep it for up to a week in the fridge, or freeze it in the right size quantities for your needs.  I have found that it does not work to cook dry beans in (even soaked first); I am guessing the minerals affect the ability of the bean coating to break down because the beans never soften.  So, cook the beans first separately, then mix with the bone stock.


Bone Stock with some type of Bean or Lentil and Garden Greens is a favorite staple dish around here.


For vegetable stock, use the same directions, but keep cook time around 24 hours, no vinegar needed.  You can use it in much the same way as bone stock, though it is more as a flavoring agent.  A great way to make something out of what would be waste otherwise.  Have fun in the kitchen!

~~~