I stopped eating fast food 20 years ago (that's right, drive thru's are not a part of my life), but I still get a hankerin' for some Curly Fries, so what's a gal to do?
I make them at home! But using all organic materials, healthy fat: extra-virgin olive oil, Himalayan sea salt, and this spice blend (all powders):
Cayenne 1 part
Onion 1 part
Garlic 1 part
Salt 2 parts
Turmeric 2 parts
Paprika 8 parts
Starch 24 parts
By parts, I mean any unit of measurement you choose. If you choose teaspoons, you will have a total of 39 teaspoons of spice blend, or 13 Tablespoons since there are 3 teaspoons in a Tablespoon. If you'd like more finished product than this, then enlarge your part, maybe a Tablespoon, or if you want to make a whole lot, maybe a 1/4 c. You choose. And you can eyeball the measuring if you wish, or add another spice you'd like to include...no rules. This is kitchen alchemy not rocket science. ;)
I like to make up more than I will use at once and keep it in a jar so it's ready to go for the next time. Being an Herbalist I buy my spices by the pound as many I also utilize medicinally, and I simply use them often and in large quantities in my cooking. :)
The starch can be any type, I have used Tapioca or a non-GMO corn starch. This acts as a carrier and also provides a "coating" like "crust" on the fries.
I use a Spiralizer (also works great for all those Zucchini - I make Zucchini pasta - anyone who grows them knows what I mean), but you could just cut strips by hand. Coat the cut potatoes and the baking sheet with olive oil (I just pour some on and use my hands to mix it all up), sprinkle with salt and the spice blend to taste and bake 400 degrees for about 40 minutes, turning at least once to get them evenly crispy.
Enjoy this healthy snack! or even make it a meal - top with avocado and mix with some steamed Kale.
I like to make a lot at a time and have leftovers; they're great on soup or in an omelette for instance...
Reflections on Organic Horticulture, Kitchen Alchemy, Herbalism, Art, and Spirituality.
Wild (adj): (1)untamed, undomesticated, living freely in a natural habitat; (2)enthusiastic or eager; (3)lively and showing a disregard for rules; (4)unconventional; (5) visionary; (6)extraordinary; (7)excellent
Showing posts with label How-to. Show all posts
6.26.2016
Fast Food Fix the Slow Food Way: Curly Fries
Labels:
cooking,
dairy free,
delicious,
food,
gluten free,
harvest,
healthy,
How-to,
kitchen alchemy "rules",
Organic,
recipe,
snack,
soup
4.07.2016
Breaking Fast with Some of Spring's Edible Wild Flowers
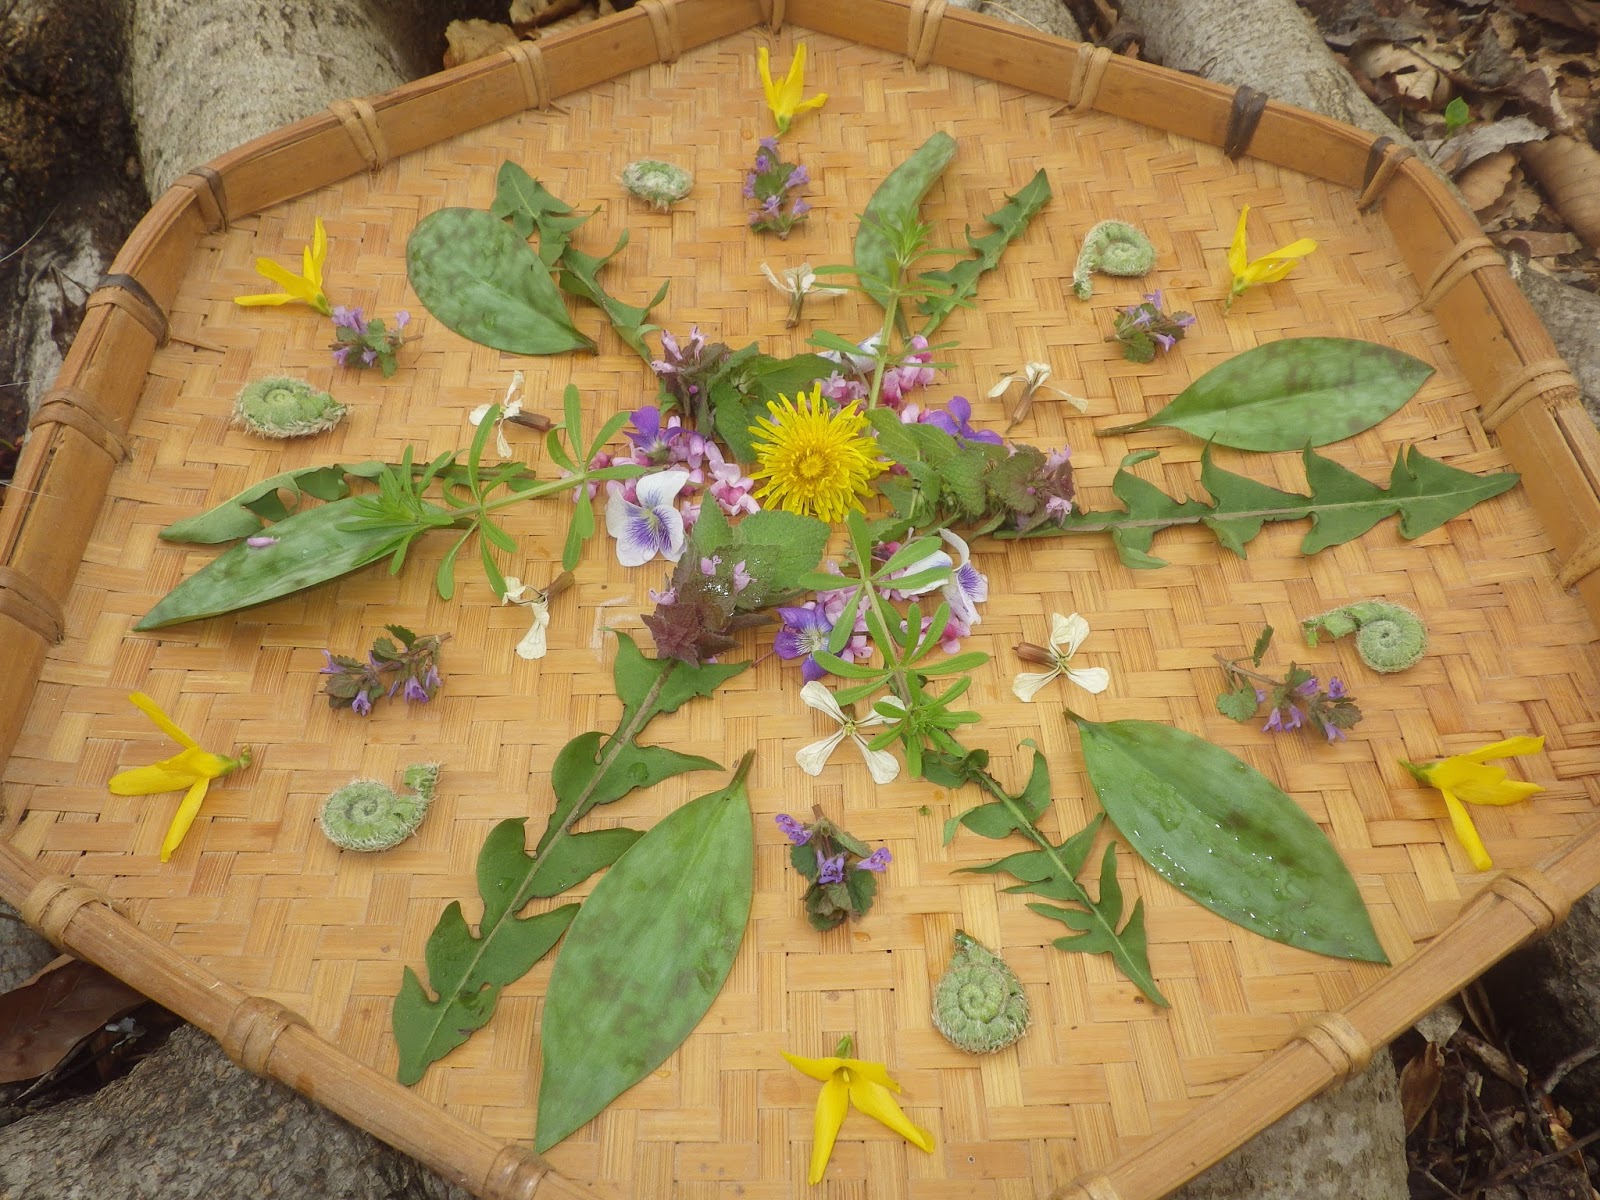
I took a walk this morning and gathered some wild edibles from the yard for a breakfast omelette. I made some art while walking in the rain-wet wild, or should I say soothed my soul...
In this mandala, you will find mostly wild plants, one feral (Arugula flower), one horticultural (Forsythia flower). The wildflowers are Ground Ivy, Purple Dead Nettle, 2 types of Violets, Dandelion, and Redbud. The wildleaves are Cleavers, Dandelion, and Trout Lily with the spirals of fern fronds just beginning.
Can you recognize them all? If not, time to get out the field guides and go into the field, learn a plant a week...or a month and in a few years you will have a repertoire. Make sure that part of your learning includes learning about the habitat and ecosystem you find the plants in and their role including whether they are invasive, rare, slow-growing, endangered, native, common, tenacious, etc. You want to know *if* you should harvest and *how* to harvest if you do. You'll want to know if there are poisonous look-alikes and how to tell them apart. You'll want to know if you can only eat certain parts of the plant, or only eat it in certain seasons. You'll want to know if the plant is an annual, biennial, or perennial as this affects harvesting guidelines. You'll want to know if it has medicinal qualities and what they are, and so on... Truly learn and study the plant before harvesting and eating a wild plant.
"The traveler has to knock at every alien door to come to his own, and one has to wander through all the outer worlds to reach the innermost shrine at the end."
- Rabindranath Tagore
I chopped up the bigger pieces and added some Garlic Mustard, see picture below. This is one plant that you can freely harvest anytime and should actually pull it up by its roots and dispose of the roots in the trash if you do not eat them, not the compost. It is one of the worst invasives that no amount of purposeful eradication seems to work, so you can't get rid of it even if you try, and I have tried for many years on my property as it crowds out natives and other less tenacious plants. I still always have it, lots of it. So harvest away.
I then mixed this with good eggs (good meaning not out of a battery cage like most eggs bought and sold) and cooked it in local lard from happy pigs and put this on sprouted, whole-grain bread with extra virgin olive oil and salt. All organic, all ways. Here's why.
It tastes fresh, green, vibrant, and alive! just like spring itself - a perfect way to start the day.
Plus you get to eat spirals. :)
“The moment one definitely commits oneself, then providence moves too. All sorts of things occur to help one that would never otherwise have occurred. A whole stream of events issues from the decision, raising in one’s favor all manner of unforeseen incidents and meetings and material assistance, which no man could have dreamed would have come his way.” – Goethe
12.05.2015
How to: Herbal Infusion for Eye Strain, Injury, or Infection - for humans and cats!
This is a blend I have made many times to great effect for both humans, and especially, my cats. I have had a multiple cat household of indoor/outdoor cats for over 20 years, and having been an Herbalist for all that time too, I often use herbs to help my cats and eye issues are one of the most common with them.
(Btw, I am not suggesting you do this without a qualified practitioner's recommendation. You need to make the decision for yourself, or with the help of someone qualified, as to whether or not this is the right thing for you or your cat; I am not saying it is. Eye problems can lead to serious consequences, so they aren't something to mess around with. That said, this is what I do).
| This time I used Calendula and Eyebright. I also sometimes use Chamomile. I used about a tablespoon of each dried. |
| Pour boiling water over, just enough to cover the herbs. |
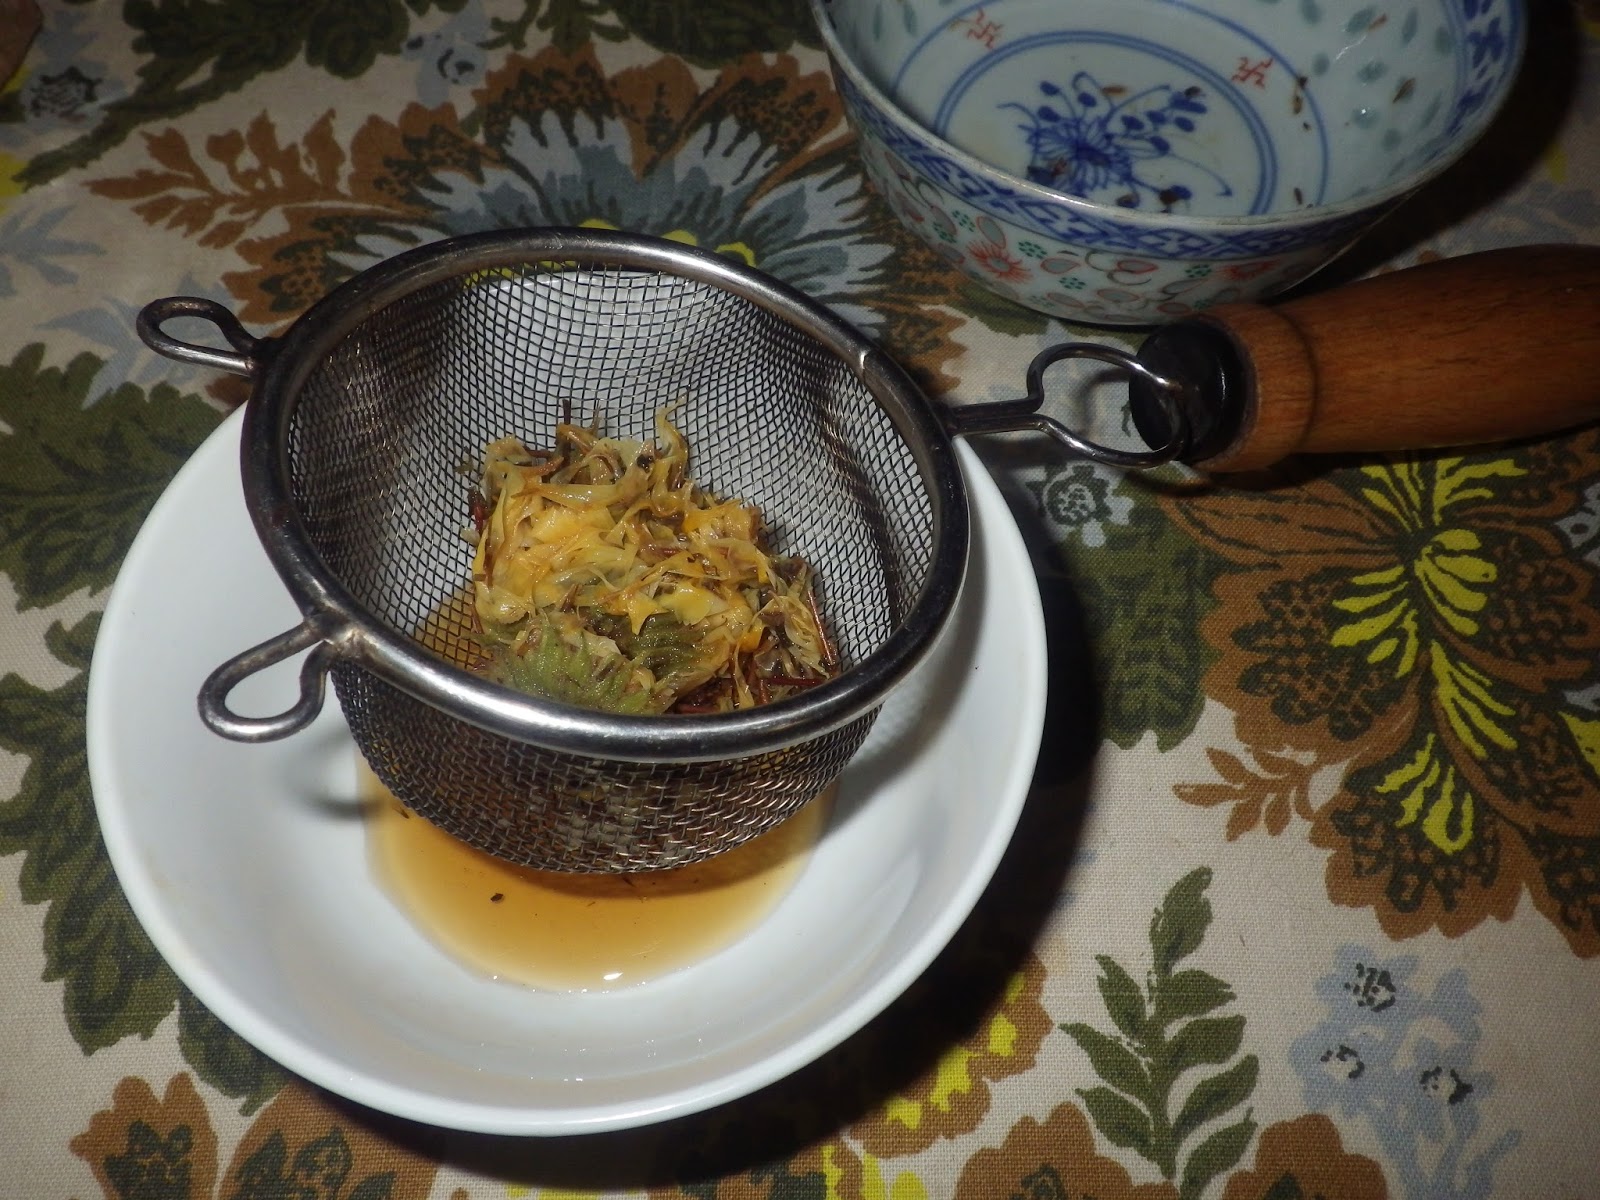
| Strain, pressing the liquid out of the herbs. Make sure that your hands and any utensils are very clean as we must be particularly careful with anything we put into the eye. |
| This will likely leave bits. |
![]() |
| May the force be with you. |
4.15.2015
Japanese Knotweed - Lime Bars and Native Mason Bee Housing - A Primer on this Ubiquitous Weed
| Japanese Knotweed |
| Japanese Knotweed Lime Bars |
| Japanese Knotweed utilized as part of a Mason Bee House |
I just love utilizing invasive non-native plants. I can feel good about harvesting them because I know it helps other plants that are native and/or not invasive by keeping down the growth and spread of the invasive AND I know I won't hurt the plant's ability to survive (try as I might). In some instances, like Garlic Mustard, you just can't eradicate it even if you want to.
| Up Close |
It's that time of year when Japanese Knotweed Polygonum cuspidatum sends up it's new stalks from the Earth. These can be eaten like Asparagus, though they also work well in deserts, and have a lemony type flavor, as we shall see...
The roots are used medicinally and are called Hu Zhang in TCM; they have been used for an assortment of issues such as cancer, cystitis, Lyme, and traumatic injury (see a qualified practitioner for this).
To make this delectable desert:
Harvest the stalks before they have done much leafing out, remove any leaves and the very top where the leaves are forming (these can be added to an omelette or the like); chop the remaining stalks up into small pieces. You want about 4 cups of chopped stalks, a little more or less is fine.
| Leaves and tops to use for another dish. |
| Chopping into small pieces. |
| Splitting the larger ones lengthwise before chopping. |
Preheat oven to 350. For the bottom layer: melt a stick of butter in an 8" x 8" pan, once melted mix directly in the pan with the butter: one cup of whole wheat pastry flour and one cup of raw cane sugar. I like to use all organic ingredients so I'm not ingesting pesticides or contributing to their being sprayed on farms and poisoning the water and land (along with the food). Mash this dough evenly into the bottom of the pan covering the entire bottom. Bake for 15 minutes. Allow to cool so it hardens.
| The top layer mixed and ready to pour onto bottom layer. |
In the meantime, make your top layer: mix 3 eggs, 1 c. raw cane sugar, 1/2 c. whole wheat pastry flour, 1/4 c. lime (or lemon) juice until well blended then stir in the chopped stalks. Pour this over the cooled bottom layer and spread evenly. Bake one hour, turning oven to 400 for last 15 minutes. Make sure the topping is set up; it might need a little longer cook time.
Delish!
| If you build it they will come: the Mason Bee House on the art studio, L'Atelier. Netting is to keep birds out. |
A...n...d.... another use for those stalks after they die back in the fall (they persist through winter so you can harvest them right up into early Spring) is housing for Mason bees. These solitary bees nest in tubes, whether that be hollow plant stalks, holes beetles have drilled in trees, or anything similar such as holes we drill or tubes we put out. They live for 6 weeks in the Springtime right at the moment fruit trees bloom.
***If you have fruit trees, you want these bees on your property.*** They are easy to care for and do a better job with fruit trees than honeybees because of how they gather nectar.
| Drilling the starter holes in 7" pieces of Fir 4" x 4", then on to using a hand-held drill to finish them. |
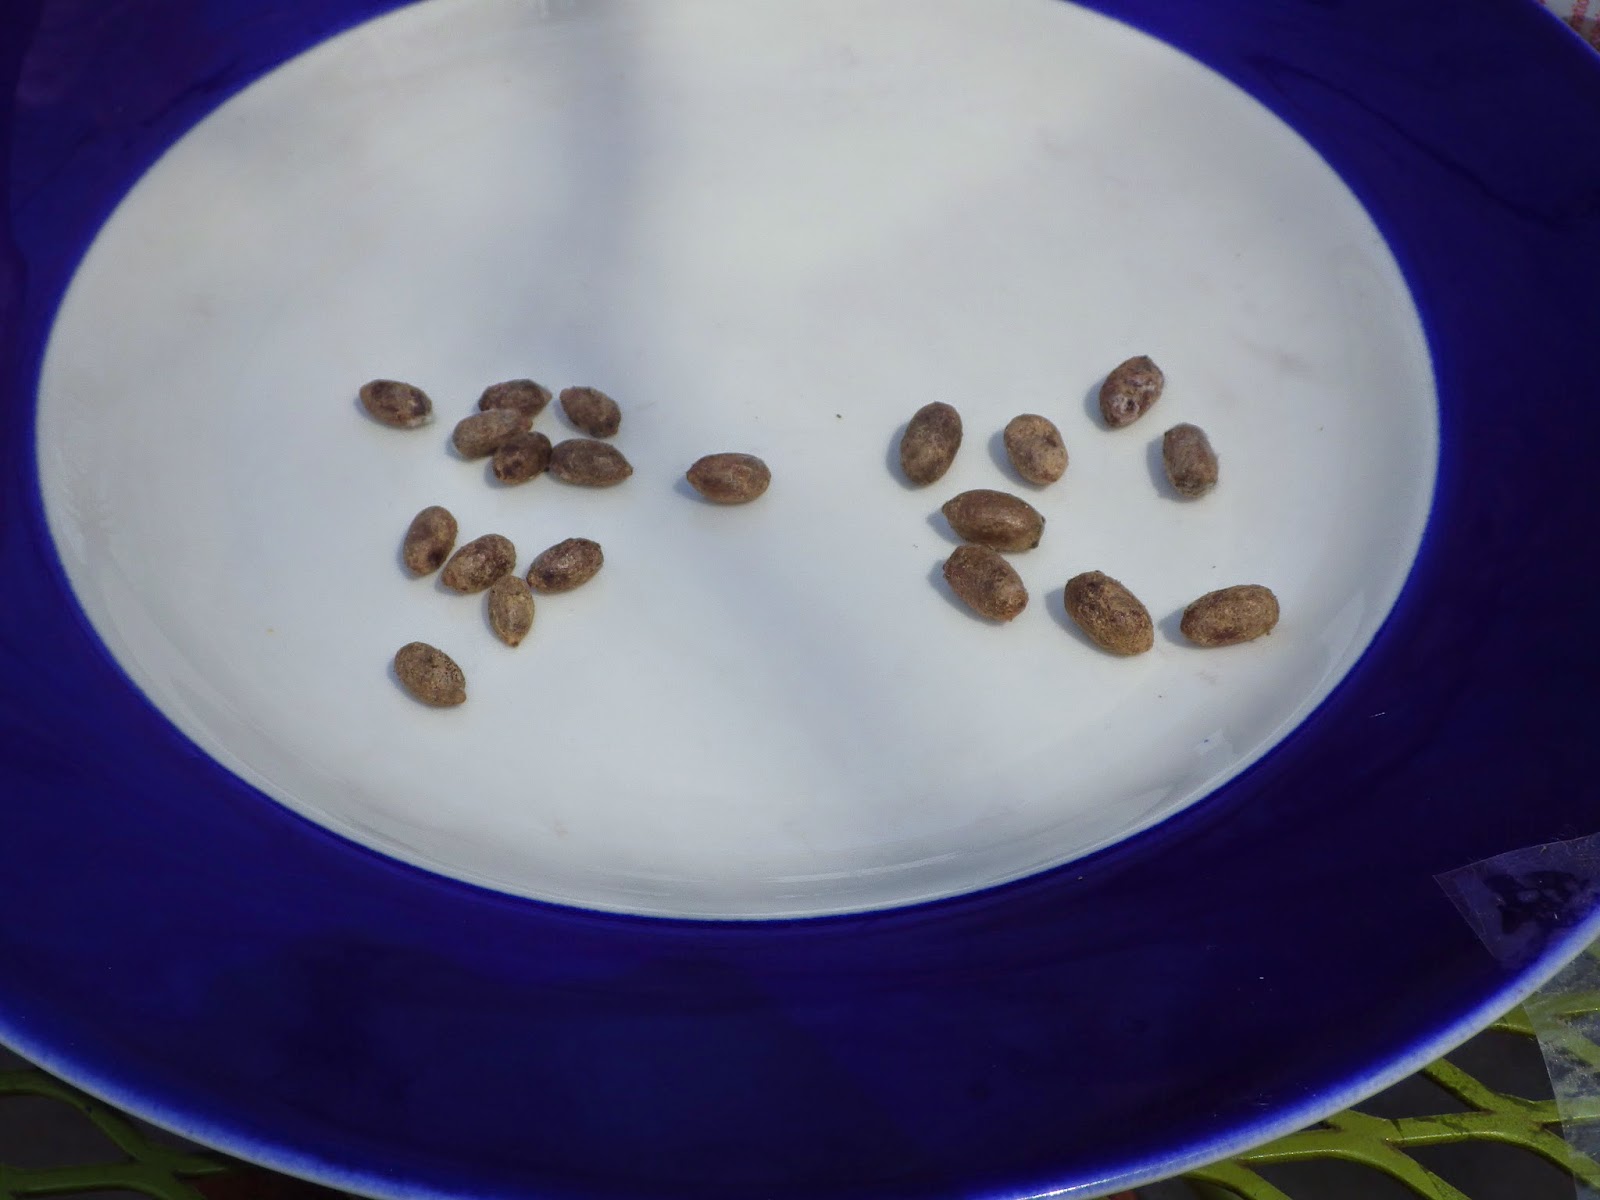
| Mason bee cocoons gifted from a friend, thanks Laura! Males on left, Females on right. |
| Mason Bee cocoon, they hatch from the nipple end, so this needs to face out if placed in a tube. |
Here is a great book if you want to learn more. Here is one of many houses you can purchase for them.
If you want to make your own, they prefer 5/16th size holes 6" deep (don't use pressure treated wood). And of course, if you have access to a stand of Japanese Knotweed (bamboo also can work well), you can harvest your own as I did (seen collected in the 4 black pots in above picture of large Mason bee house).
| A simple, smaller house can be made too, such as this one upper left. |
~~~
Labels:
art,
Bee-licious,
cooking,
delicious,
DIY,
Edible Wild Foods,
food,
foraging,
Gaia,
gratitude,
Herbs,
Hope,
How-to,
Mason bee,
opportunity,
Organic,
permaculture,
recipe,
snack,
weeds
1.28.2015
Bath Salt and Scrub - DIY and For Sale
especially good for elbows, knees, and feet, but you can use it all over...
Use it in a bath and it becomes bath salts when you rinse it off. Or just scoop some
into your bath for the relaxing and healing properties of the ingredients.
Make some yourself:
The Basic Recipe:
2 c. mixed sea salts and epsom salt - rich in minerals, soothing, relaxing
1/2 c. oil - moisturizing - no need for lotion after your bath or shower
25+ drops of assorted essential oils - uplifting and rejuvenating
Makes enough for a 16 oz. container.
Use one type or a blend of essential oils. Choose them for their scent and/or actions. I am linking a great book on essential oils below. Make sure to include at least 2 drops of Rosemary essential oil for its preservative effects. You can also add a tablespoon of Vit. E oil as a preservative.
or, Buy some I made:*
$25 for a large (16 oz.) container plus $15 shipping for up to 4 containers shipped.
*If you are buying several Ravenwind Botanica products at one time, whether the same item or not, you can save substantially on shipping as I will ship it all together, please inquire and we'll get the payment set up right for you. :) You can click on 'Ravenwind Botanica' in the list to the right to see all products available. Thanks for supporting my work.
Labels:
aromatherapy,
bath salts,
DIY,
Healing,
healthy,
Herbs,
How-to,
meditation,
Ravenwind Botanica,
recipe,
Solitude
1.10.2015
Making Soup Stock: Bone and Vegetable - Nutrition from Kitchen Scraps
| Strained Bone Stock with added Shitake and Seaweed for Flavoring and Trace Minerals. |
You know those bits that many just throw away (or even better compost) when cooking...broccoli stem peelings, onion skins, chicken bones,.... well if you aren't putting them to good use, now is the time to start. What I do is keep a gallon ziploc bag or two of each in the freezer going at all times, one for bones, one for vegetable scraps. Once the bag is full, or sometimes I'll wait for two bags to be full, I make soup stock. Sometimes I mix the bones and vegetables, but ideally you decoct the bones for as much as 72 hours; the vegetables are best just 24 hours max, so it depends. The vegetables are mostly just a flavoring agent, something to use as a base or liquid in most any cooking.
| Straining the Broth. |
The bones on the other hand are one of the most nutritious foods you can eat and I believe no diet should be without the regular intake of bone broth, but especially anyone healing from any type of trauma, dealing with serious illness, or pregnant. When I eat bone stock I can feel the goodness going throughout my whole body lighting up every cell, literally. It's power packed with nutrients (amino acids and minerals especially) that enrich your body and make you feel good.
| The strained Bone Stock; you can see it has good fat in it too. |
To make this glorious golden liquid you just immerse the bones in water after breaking them open to expose the marrow if needed. For instance, with chicken bones you want to use a mallet to break each long bone. You can also buy larger soup bones at your local humane butcher (if you don't have one of these, look for one - know your farmer, know your food). I often do this and just mix whatever bones I have; I even mix in fish bones. Next add a tablespoon or so of vinegar per gallon of water used; this helps to leach the minerals out of the bones. You may need to add water as you go, particularly for the longer times, or you can start with a greater amount of water. Bring all this to a boil, then reduce to simmer with a lid and cook for 24-72 hours. The longer you cook it, the more minerals you will get out of the bones. 72 hour decocting actually makes the bones mushy like a cooked potato. Once your cooking time is up, strain it; you do not need to skim the foam off the top (it's high in amino acids). I then put the cooked bones in my compost pile; I figure the garden will use any minerals left.
| In this Vegetable Stock; you can see a Brussel Sprout stalk, Leek ends, Onion peelings, Carrot tops, and rubbery Celery. |
Now what to do with all this rich, luxurious goodness? I use bone stock as a base for most any type of soup, mixed into any type of vegetable mash, as a broth when cooking meat, and even cook the occasional pasta in it. It gives any dish a depth of flavor and mouth feel that is hard to beat. You can also use it as the liquid needed when reheating a dish, or when creating a dish that needs just a bit more liquid to get the texture just right, or in making sauces and marinades. Keep it for up to a week in the fridge, or freeze it in the right size quantities for your needs. I have found that it does not work to cook dry beans in (even soaked first); I am guessing the minerals affect the ability of the bean coating to break down because the beans never soften. So, cook the beans first separately, then mix with the bone stock.
| Bone Stock with some type of Bean or Lentil and Garden Greens is a favorite staple dish around here. |
For vegetable stock, use the same directions, but keep cook time around 24 hours, no vinegar needed. You can use it in much the same way as bone stock, though it is more as a flavoring agent. A great way to make something out of what would be waste otherwise. Have fun in the kitchen!
~~~
11.29.2014
Henna for Hair
| Widow's Peak |
Okay, so some funny pictures and a quick post to share with you how I dye my hair. I used to dye it with artificial dyes 'cause I like to change up the color frequently (and over the years have had just about every color - 'cept white, gray, and green), but for over a year now have been using only henna because I was having a skin reaction (as my body was dealing with the tail end of getting over Lyme) that was exacerbated by chemicals. Plus hair dye was one of the last vestiges of toxic chemical exposure in my life that I could take out.
Henna only comes in one color and that is reddish or orange. I don't mind as my hair has a bit of that naturally anyway and it suits me (being a mutt who is mostly Scot-Irish). I dye my hair because I am not ready to be gray. I went gray overnight in some areas after experiencing a major trauma years ago.
| Be sure to wear clothing you can get dirty as Henna will stain your clothing. |
So, I use just plain ol' powdered henna, no additives. I mix it with lemon juice until I get a consistency that is easy to spread but not so thin that it will drip and run. I never measure, but it seems to be somewhat equal amounts. You can play with it to get the thickness you desire. I let this mixture sit for 12 hours (so I mix it up the day before I will use it). I use a glass bowl and then cover it with saran wrap, pressing it down so there is no air exposure to dry it out.
I use gloves when applying it as it will stain your skin. Then I cover my hair with plastic wrap and leave it like this for 3 hours. This helps to keep it from drying out and holds heat in. When this mixture dries out it is harder to get out of your hair (though not impossible as it is very water soluble). You will notice that as it heats up on your head, it will get a bit thinner and can start running, if this happens just wipe it and take note to make your mixture thicker next time.
| The smell of green plant and earth...so much better than toxic chemicals. |
After 3 hours, just rinse it out and then shampoo and condition as usual.
Messy (no more so than artificial dyes) but non-toxic and good for your hair and scalp. The face mask is one from this fine company.
11.02.2014
Flower Power: An Edible Flower as Medicine
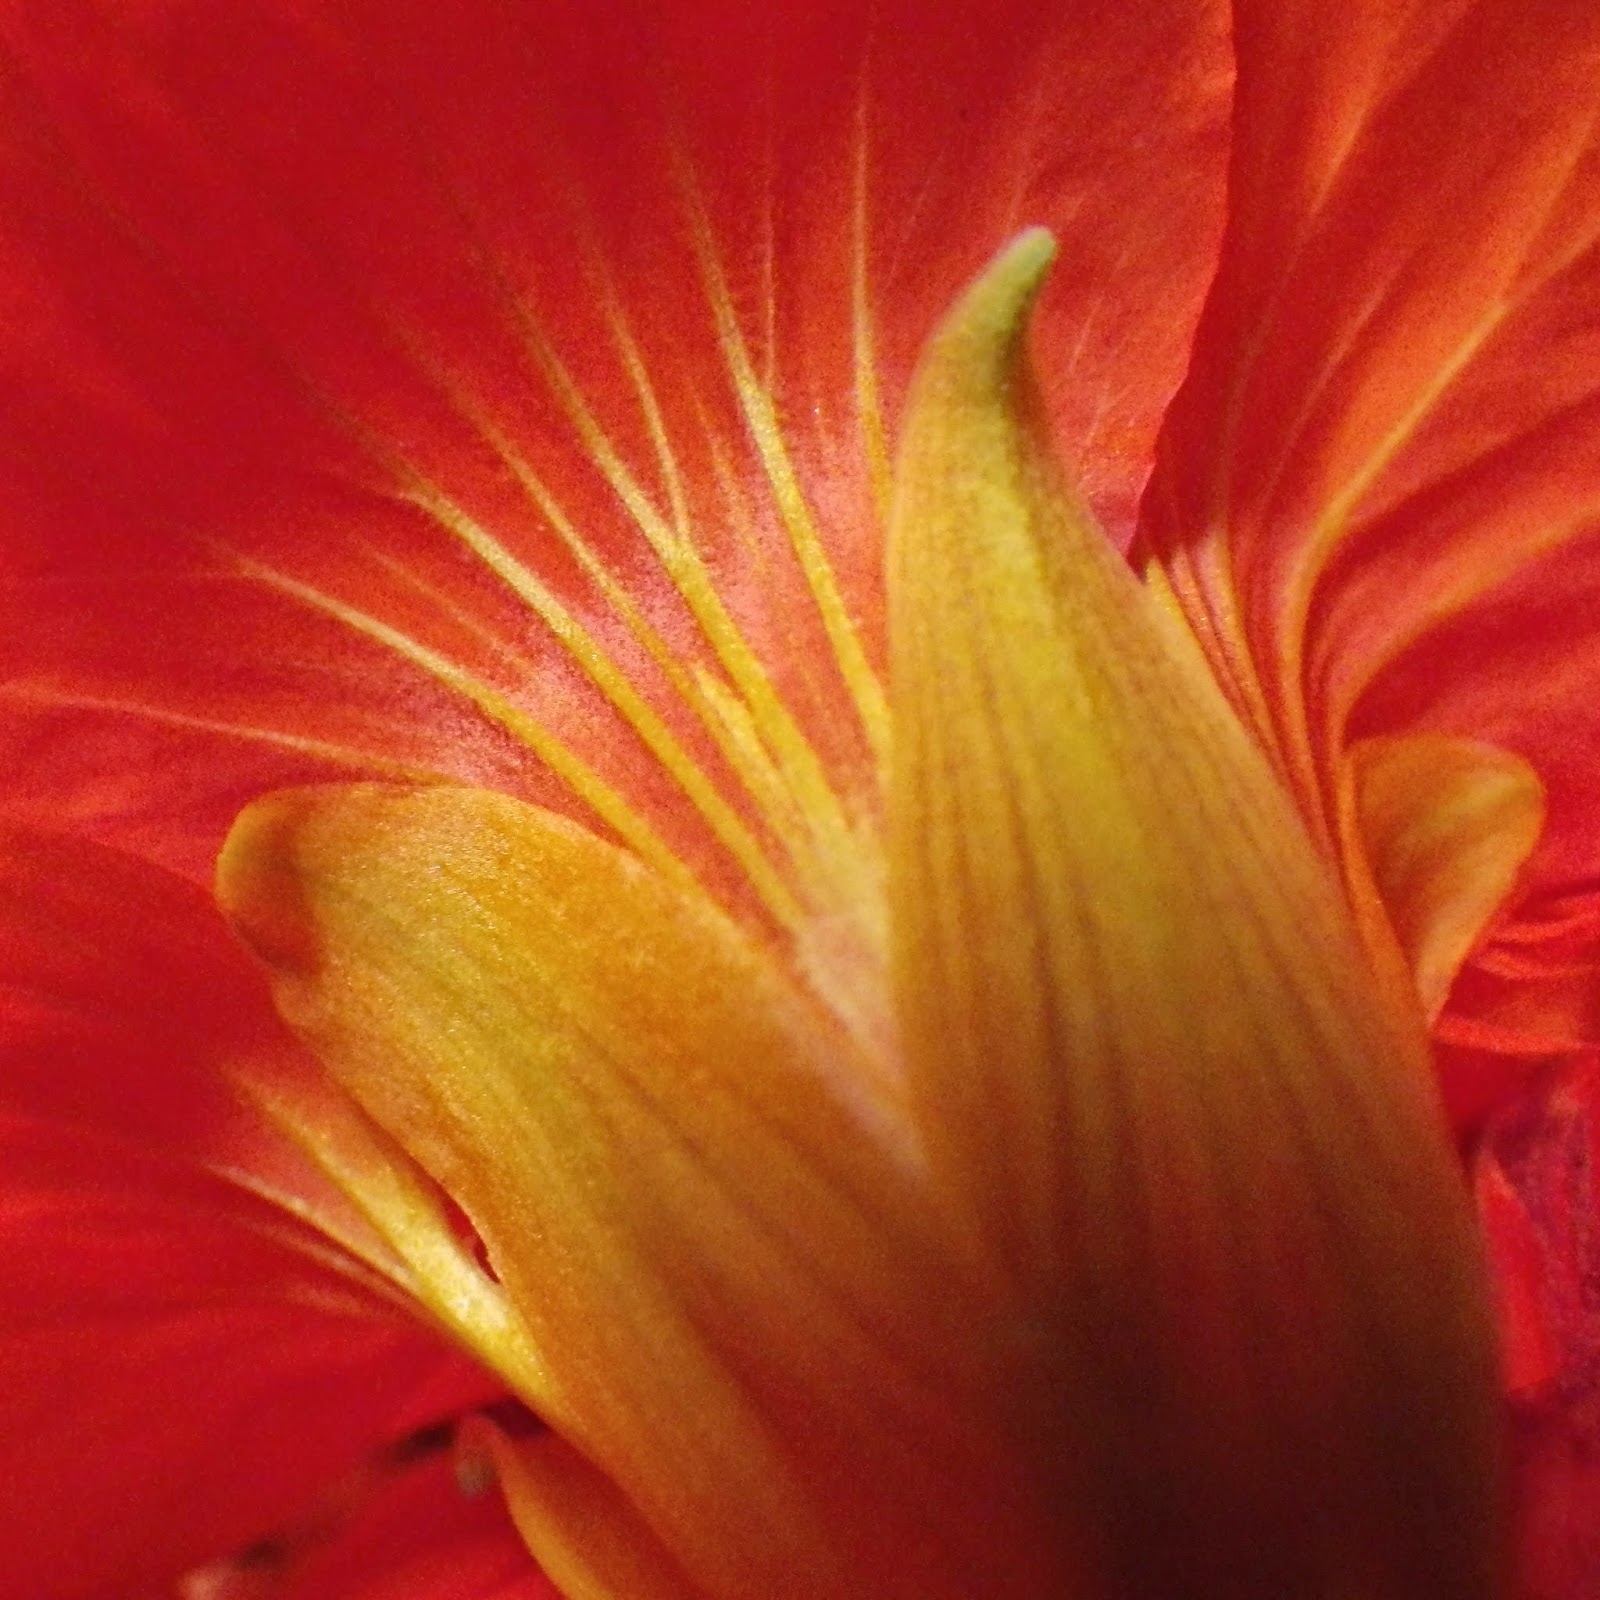
Are you spellbound yet?
Nasturtium is the very definition of piquant:
ˈpēkənt,ˈpēkänt/
adjective
1. having a pleasantly sharp taste or appetizing flavor.
2. pleasantly stimulating or exciting to the mind.
Gotta love that, right? right.
| An unusual site in November; an opportunity within the crisis of global warming. |
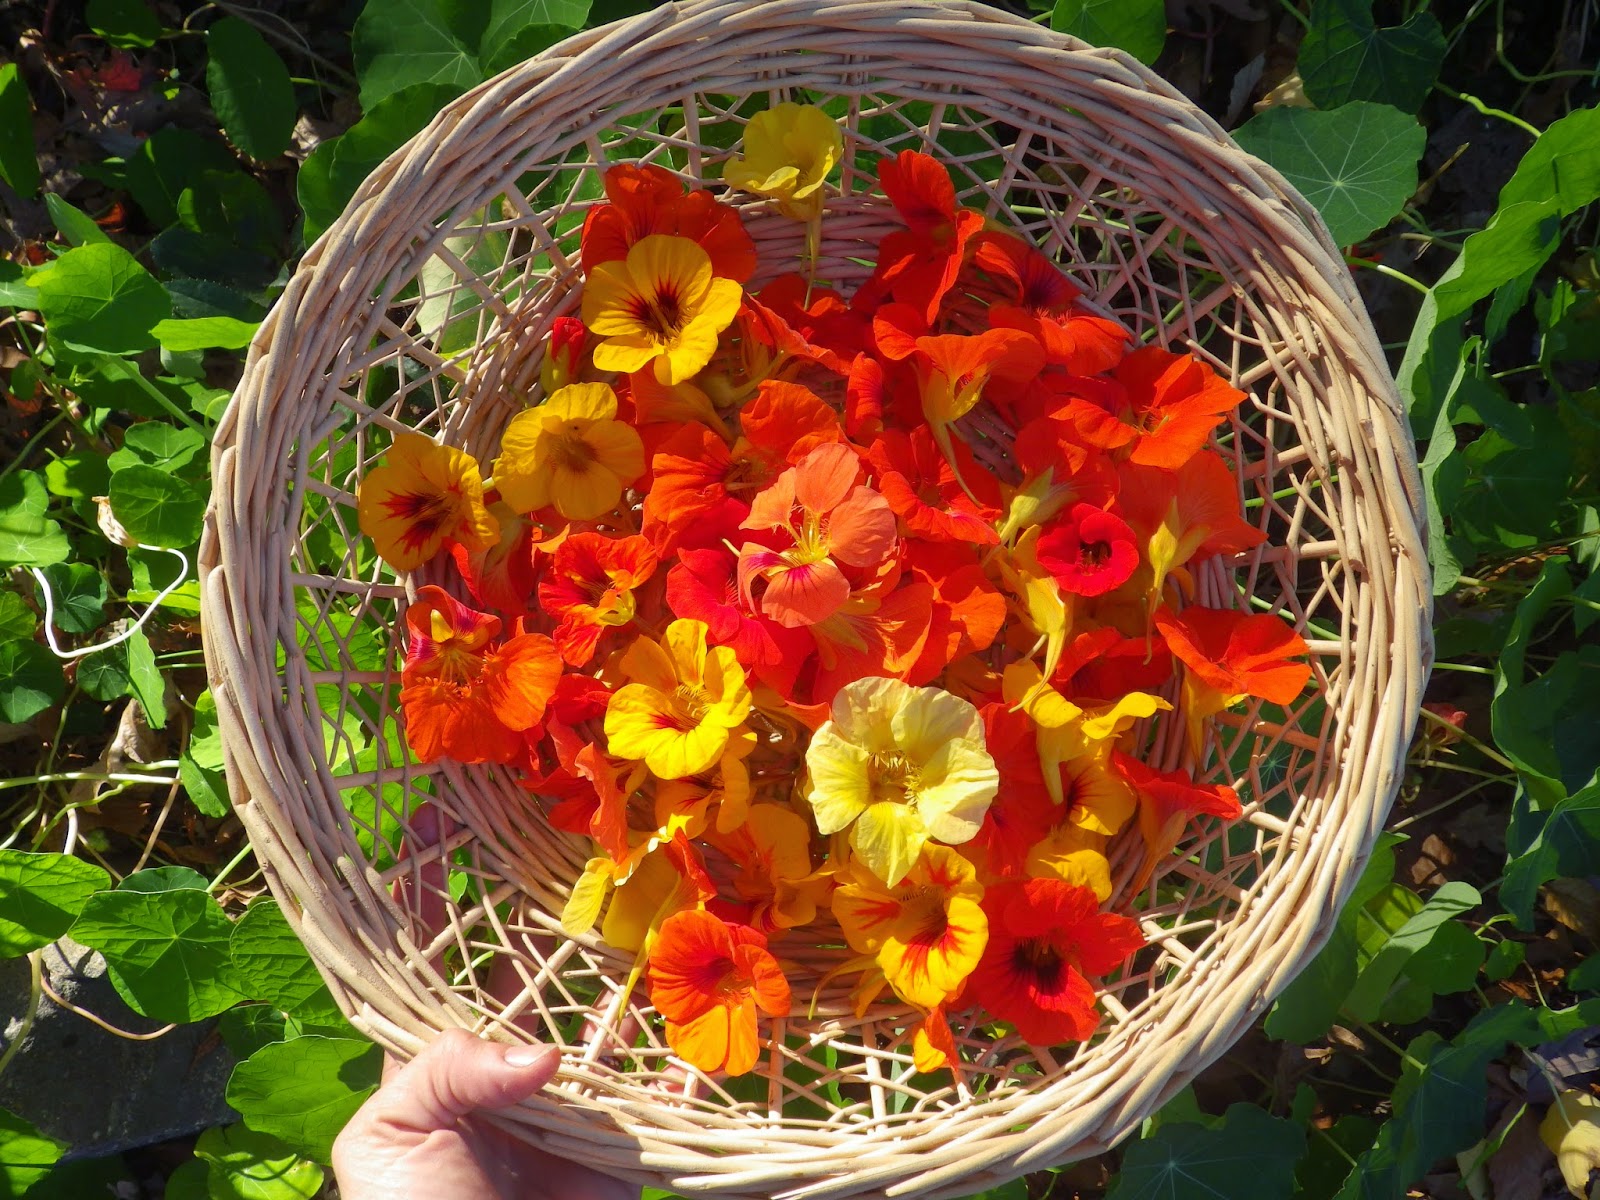
We are having a late frost here in the Blue Ridge Mountains of Virginia, but it's expected tonight so I am harvesting the Nasturtium flowers before they get blasted by the cold. Being a native to South America; they cannot tolerate frost, but they will grow all summer long gracing us with their presence - and their food and medicine. Both the flowers and leaves are edible; both give a spiciness to the dishes they accompany.
| Sunshine captured in a basket. |
They are also anti-bacterial and can be used medicinally. I have read of them being used for colds, flu, urinary tract infections, etc. I am going to tincture them to experiment with this use... I will do a vinegar tincture so it may easily be used in cooking and on salads.
To do this I will cover the flowers with vinegar in a jar, making sure all the flowers are submerged. Next I will wait 2-4 weeks, shaking the jar daily, and then strain for use. It can be used for cooking or taken by the teaspoonful as needed - or as wanted for its flavor!
| I used wax paper under the jar lid so the vinegar doesn't react with it. |
| Update: 4 days later, I had to share with you this gorgeous color! |
Oh, and no frost yet.
~~~
~~~
Labels:
art,
Beauty,
Bee-licious,
birds,
cooking,
delicious,
delight,
Edible Wild Foods,
flowers,
food,
gardening,
healthy,
Herbs,
How-to,
opportunity,
Organic,
permaculture,
smiling
Subscribe to:
Posts (Atom)